There are a lot of good reasons to add a watermark to your photos. Whatever the “why” is behind your watermarking needs, you might find yourself wondering about the “how” part of things. Don’t worry, it’s easy!

This post contains affiliate links.
We are going to look at how to add a watermark to photos using a free website called Canva. There are some other great photo editing websites out there as well – we also like PicMonkey – and the process is similar for all of them.

When you arrive at the Canva website, you will need to sign up for an account. If you already have an account, sign in.

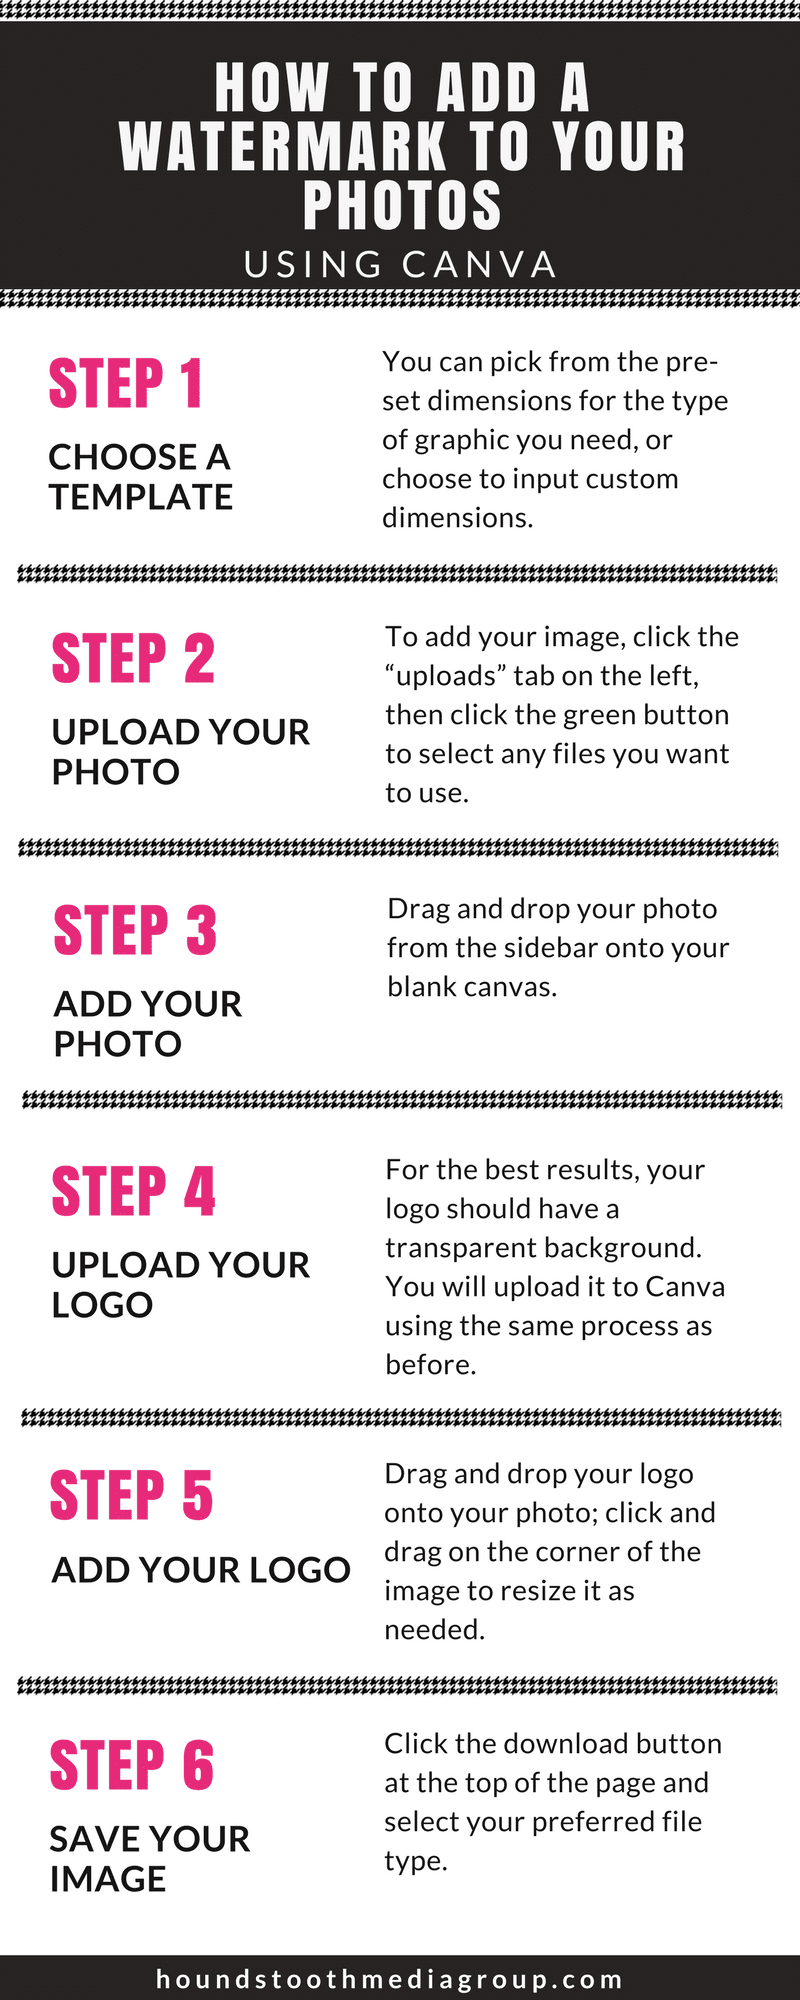
Canva offers a variety of templates perfectly sized for many different applications. You can pick from the pre-set dimensions for the type of graphic you need, or choose to input custom dimensions.

Next you will be taken to a blank canvas in the dimensions you have chosen. To add your image, click the “uploads” tab on the left, then click the green button to select any files you want to use.

Your uploaded photo will appear under the green button.

Drag and drop your photo from the sidebar onto your blank canvas. Click and drag the corners of the photo to adjust the size and cropping – make sure your image covers the whole canvas.

Next, upload your logo file. For the best results, your logo should have a transparent background. You will upload it to Canva using the same process as before.

Drag and drop your logo onto your photo; click and drag on the corner of the image to resize it as needed. You’ll want it to be big enough to read, but still small enough that it’s unobtrusive!

When you are happy with your placement, it’s time to save the file to your computer. Click the download button at the top of the page and select your preferred file type. (You will probably want to choose either JPG or PNG, which will work for most social media and website uses.)
That’s it! Your new, branded image is ready to use.
Need help with graphics? Check out our content services!
