It’s no secret that Canva is one of our favorite tools for quick and simple graphic design projects. Canva allows users with no graphic design experience to create professional looking designs. What makes Canva so easy to use? Canva templates jumpstart the graphic design process giving you a great foundation from which to create a polished graphic. Here’s a quick overview of what they are and how to use them.
What Are Canva Templates?
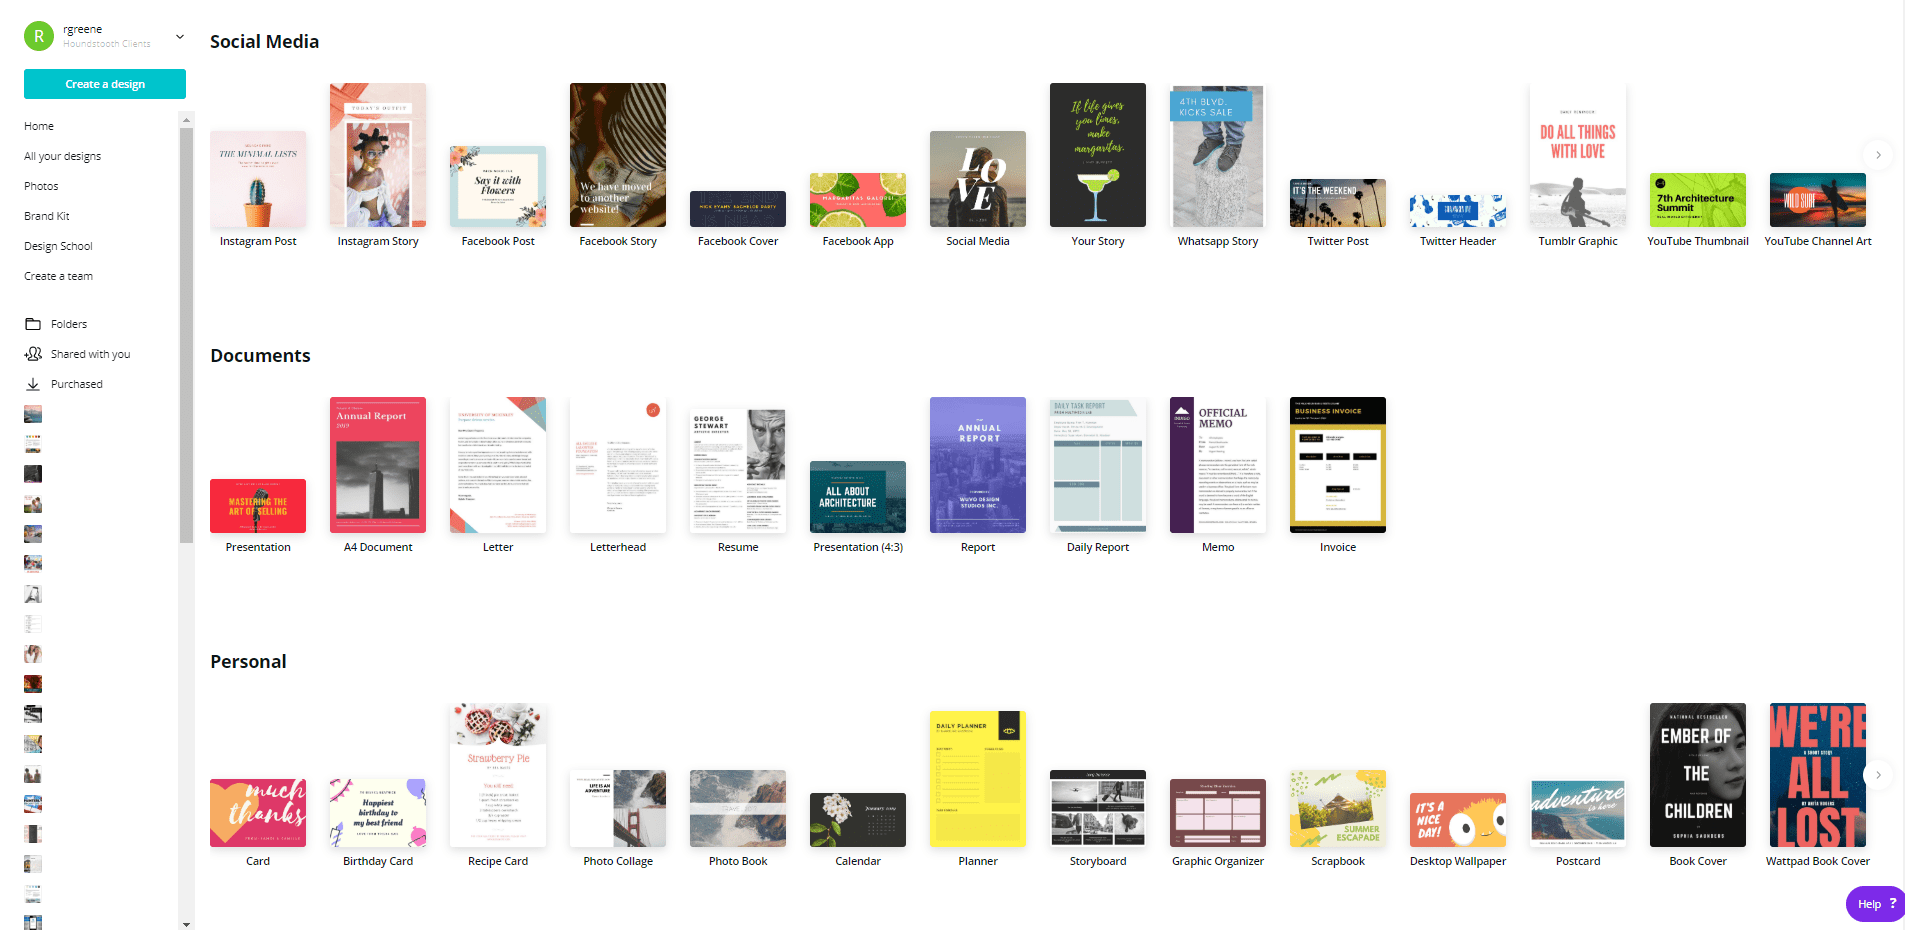
Canva provides its users with countless templates to help create polished graphics quickly and easily. You can find templates for social media graphics, resumes, ebooks, and more.
Open your Canva account and click the “Create a design” link. This will open the templates page. The thumbnails on the main template page are just a single example of all the designs Canva offers. On this page, you are simply picking a template that fits the dimensions and needs of your project. We especially love Canva for social media graphics, as the templates are already the optimal size for each platform.
For this walkthrough, I am going to show you how to work with a Canva template for an Instagram graphic, but these principles will work for any of Canva’s templates. Begin by clicking the template titled Instagram Post. This will open another window with your new Untitled Design.
How to Use Canva Templates
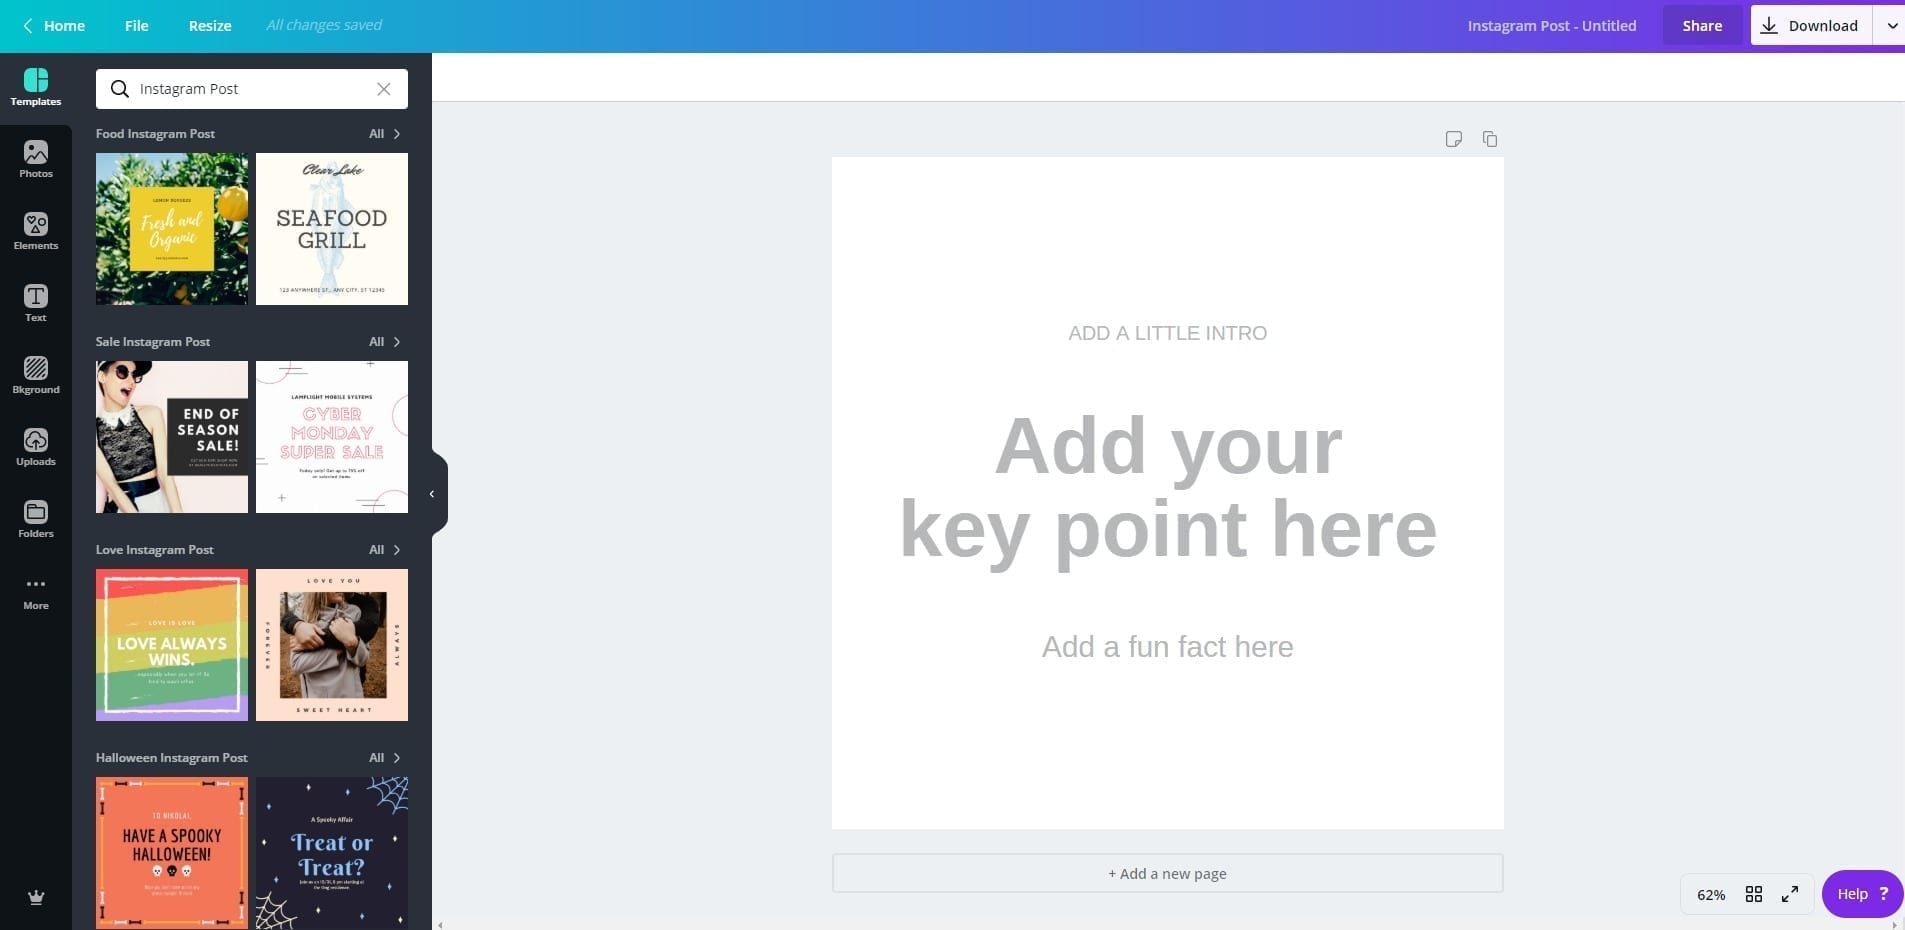
If you want to design your graphic from scratch, Canva provides some very basic placeholders for the text you may like to add to your design. Instead, I am going to be working with one of their premade templates from the menu on the left side of the workspace.
Choose a Layout
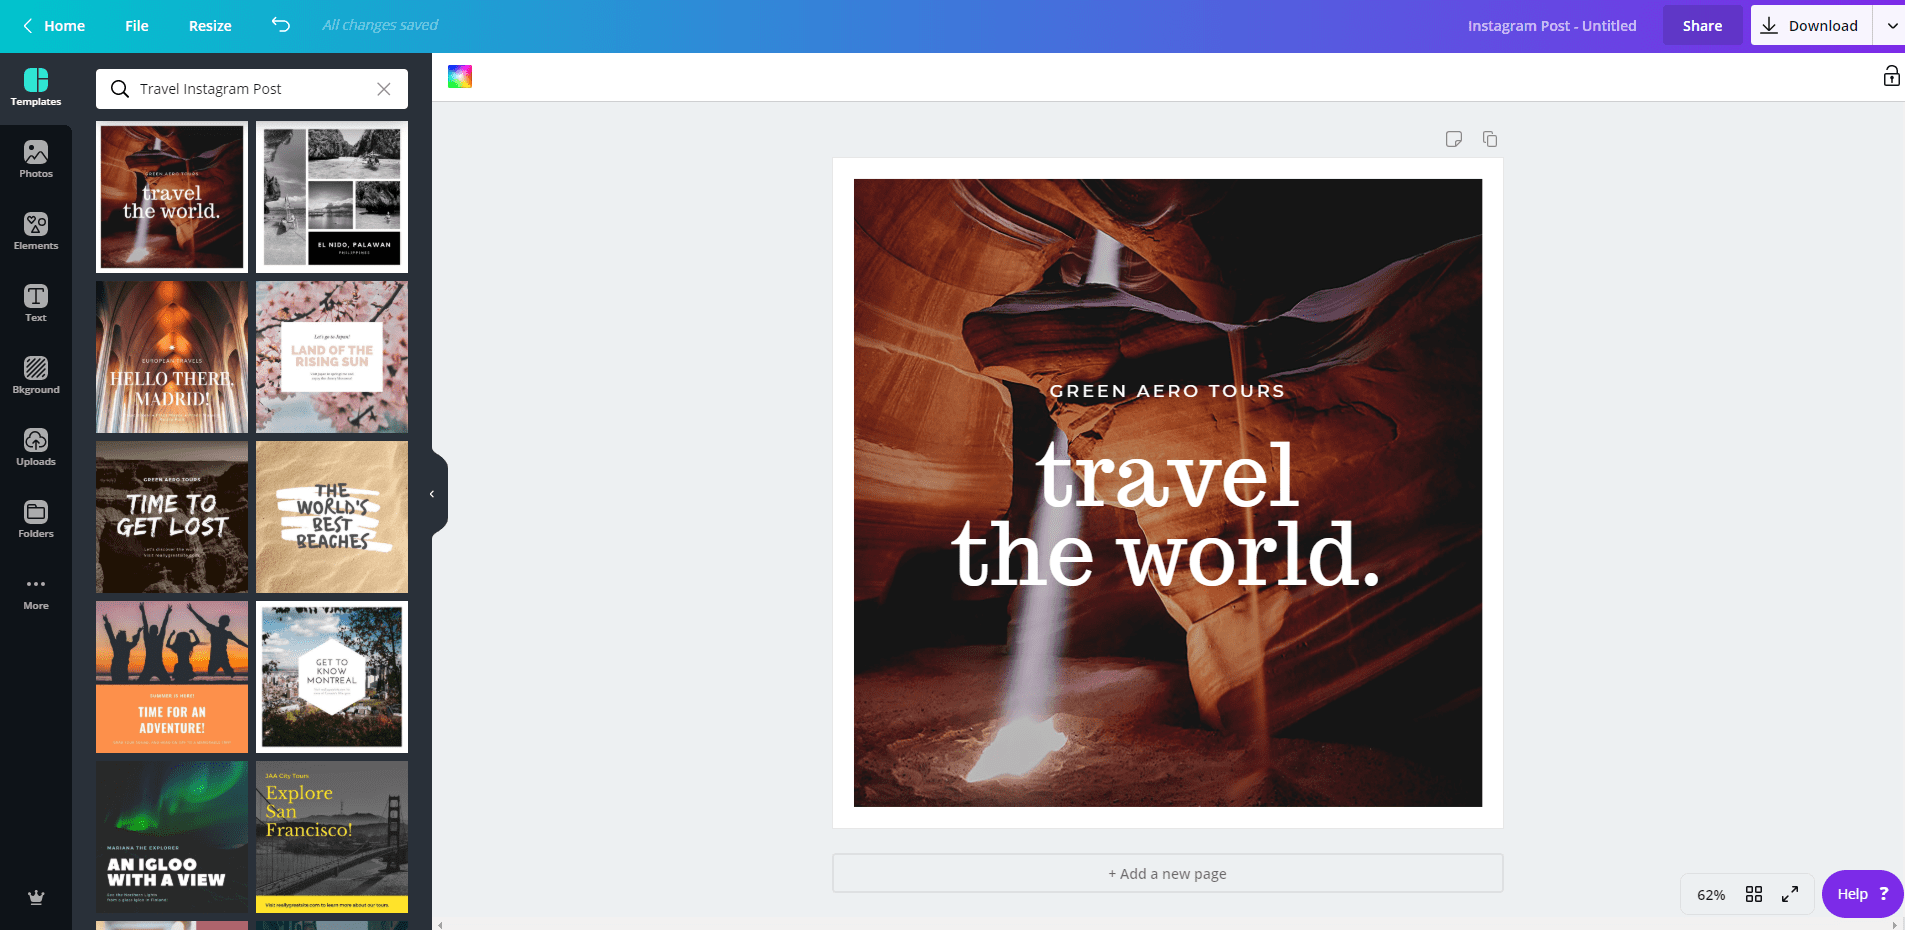
Canva categorizes their templates for specific uses, but you can obviously use whatever layout you like the best. I will be customizing the first template option in the Travel Instagram Post category.
Adjust the Fonts
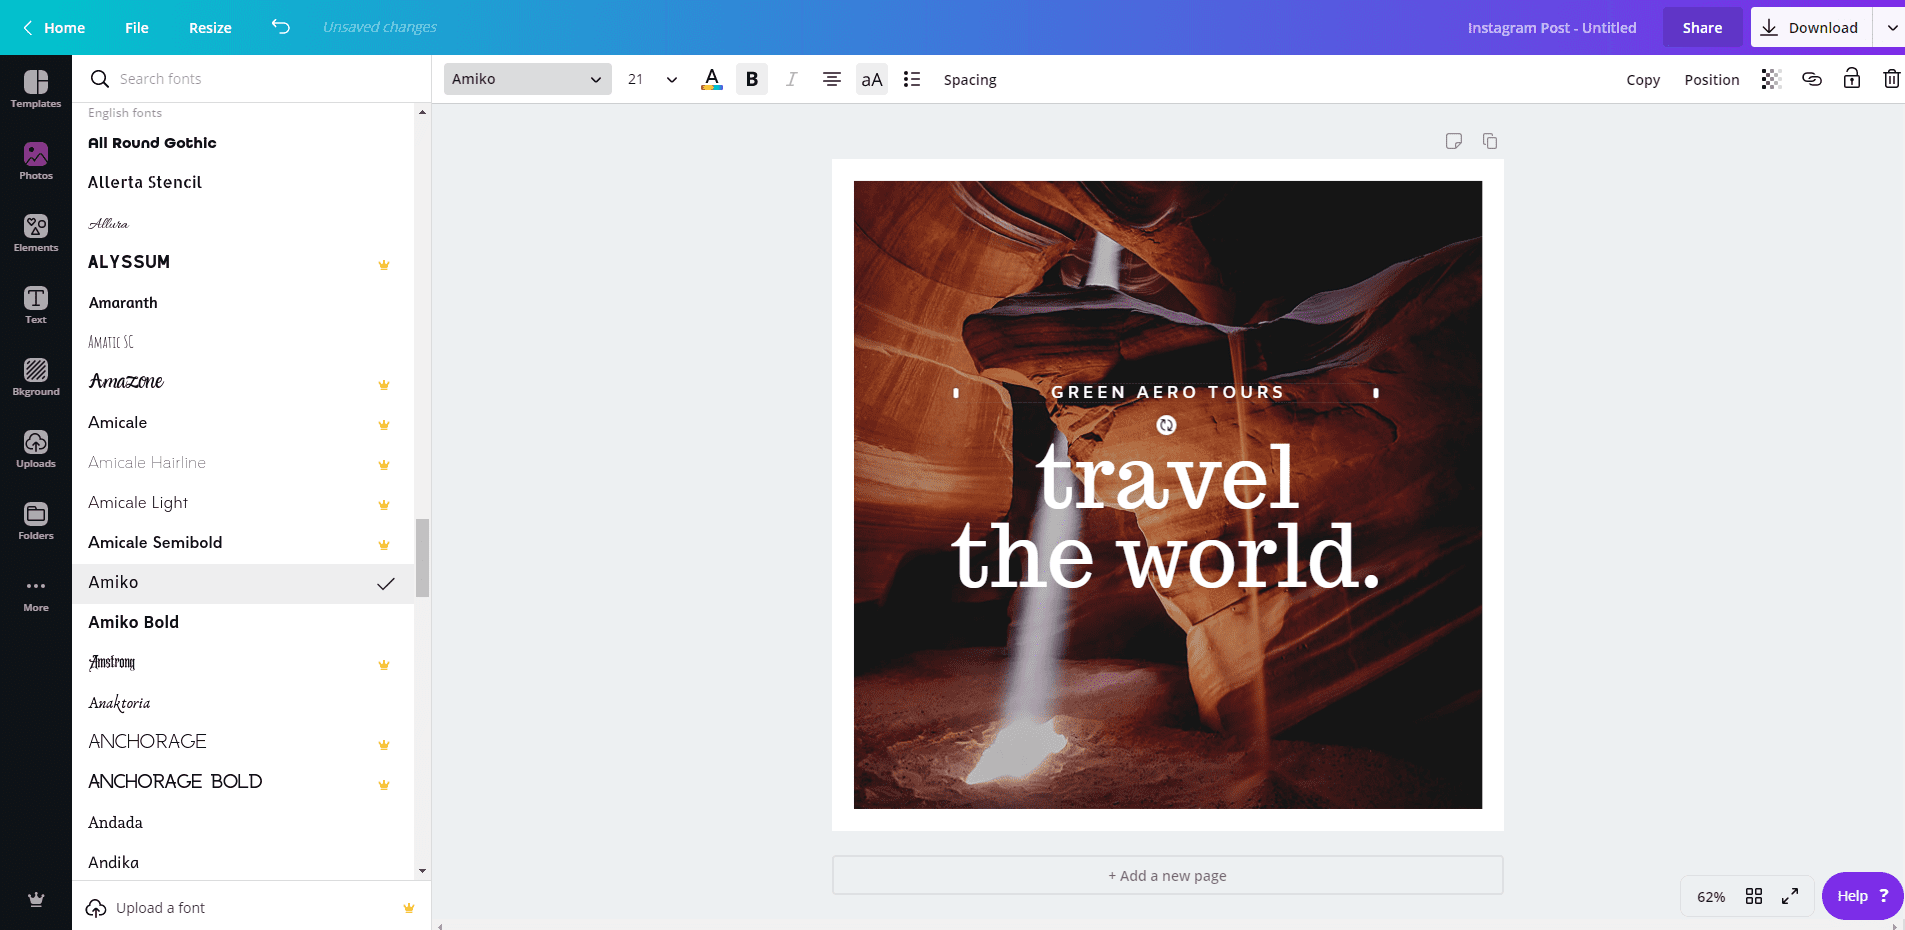
First, I swapped out one of the fonts Canva suggested with another font from their large list of available fonts. The fonts marked with a yellow crown are free for Canva Pro users. You can also upload your own fonts to the Brand Kit section of your Canva account. We always suggest using your brand’s fonts for all graphic design work to ensure consistency. Does your company not have a cohesive branding guide yet? Let us help!
Swap Out the Photo
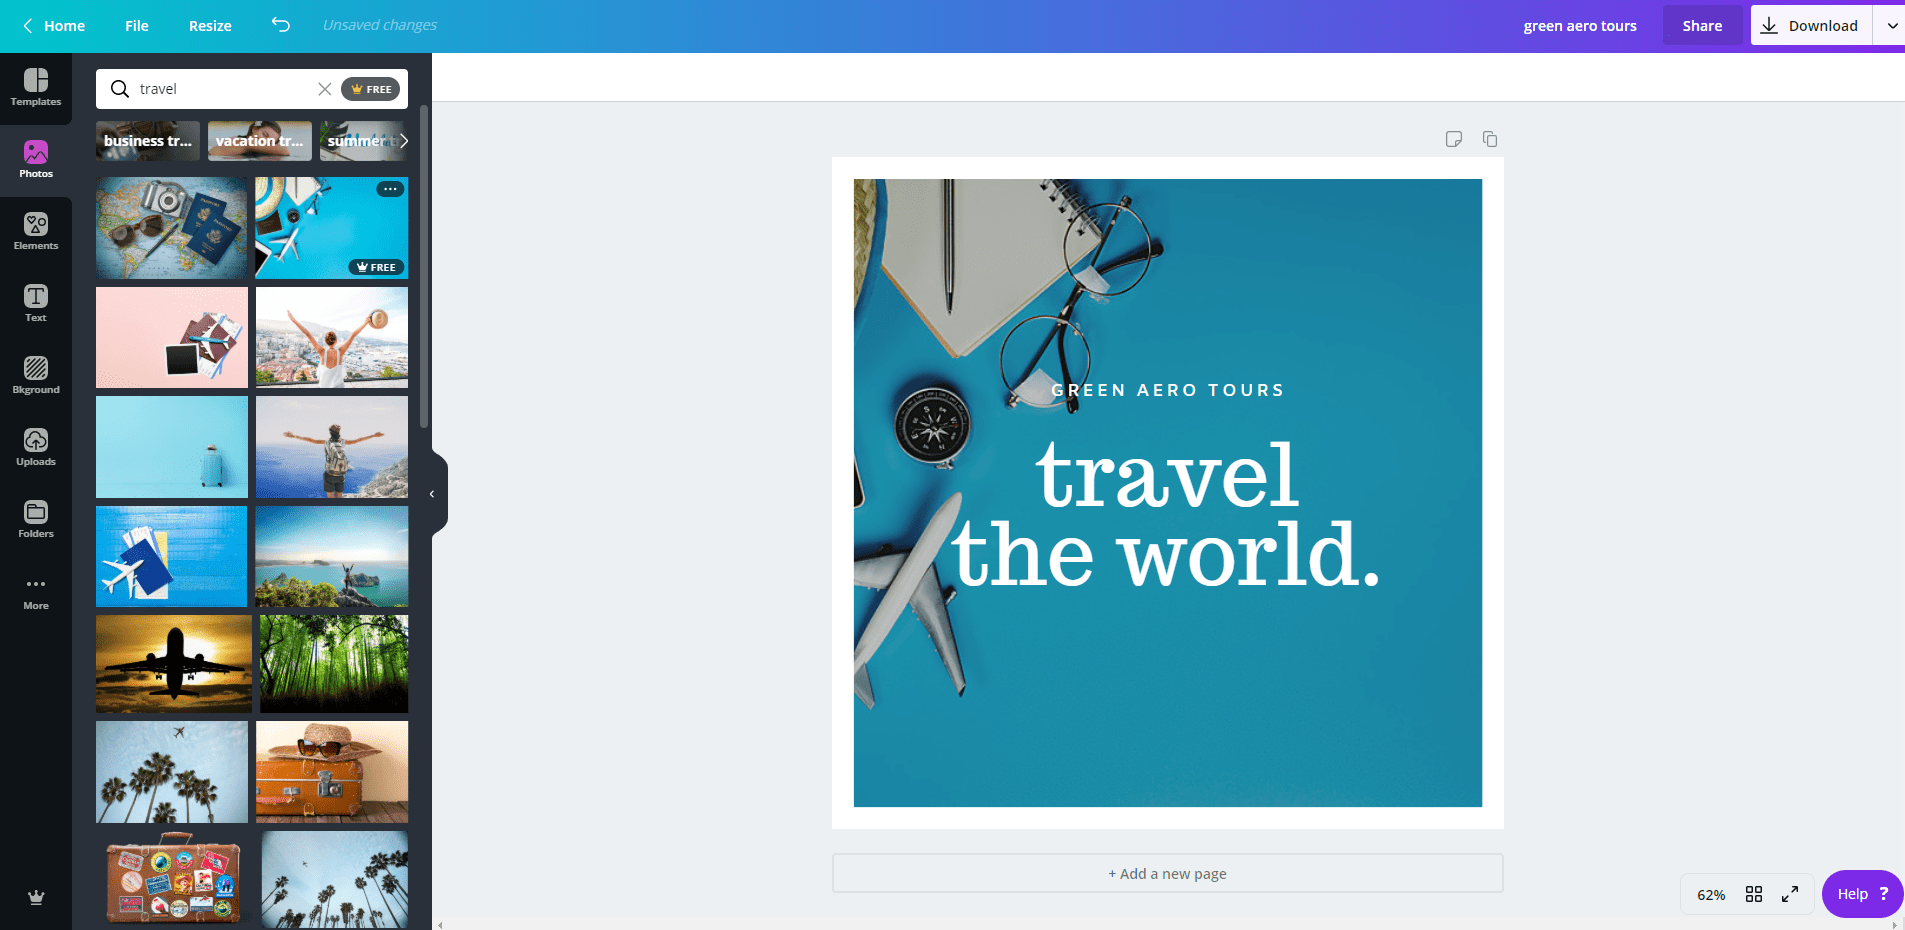
If you have a specific photo you would like to use, you can upload it to Canva and drag it into the template’s photo frame. If not, Canva does have a huge library of stock photos from which to choose. Simply enter a keyword into the search bar to pull up dozens of options. Some of the photos will cost a small amount of money to use. If you would like to keep your graphic free, just click the FREE button in the search bar. This will filter out any paid options, leaving you with photos that are all free to use. Choose your favorite photo and drag it into the photo frame.
Play with the Layout of the Canva Template
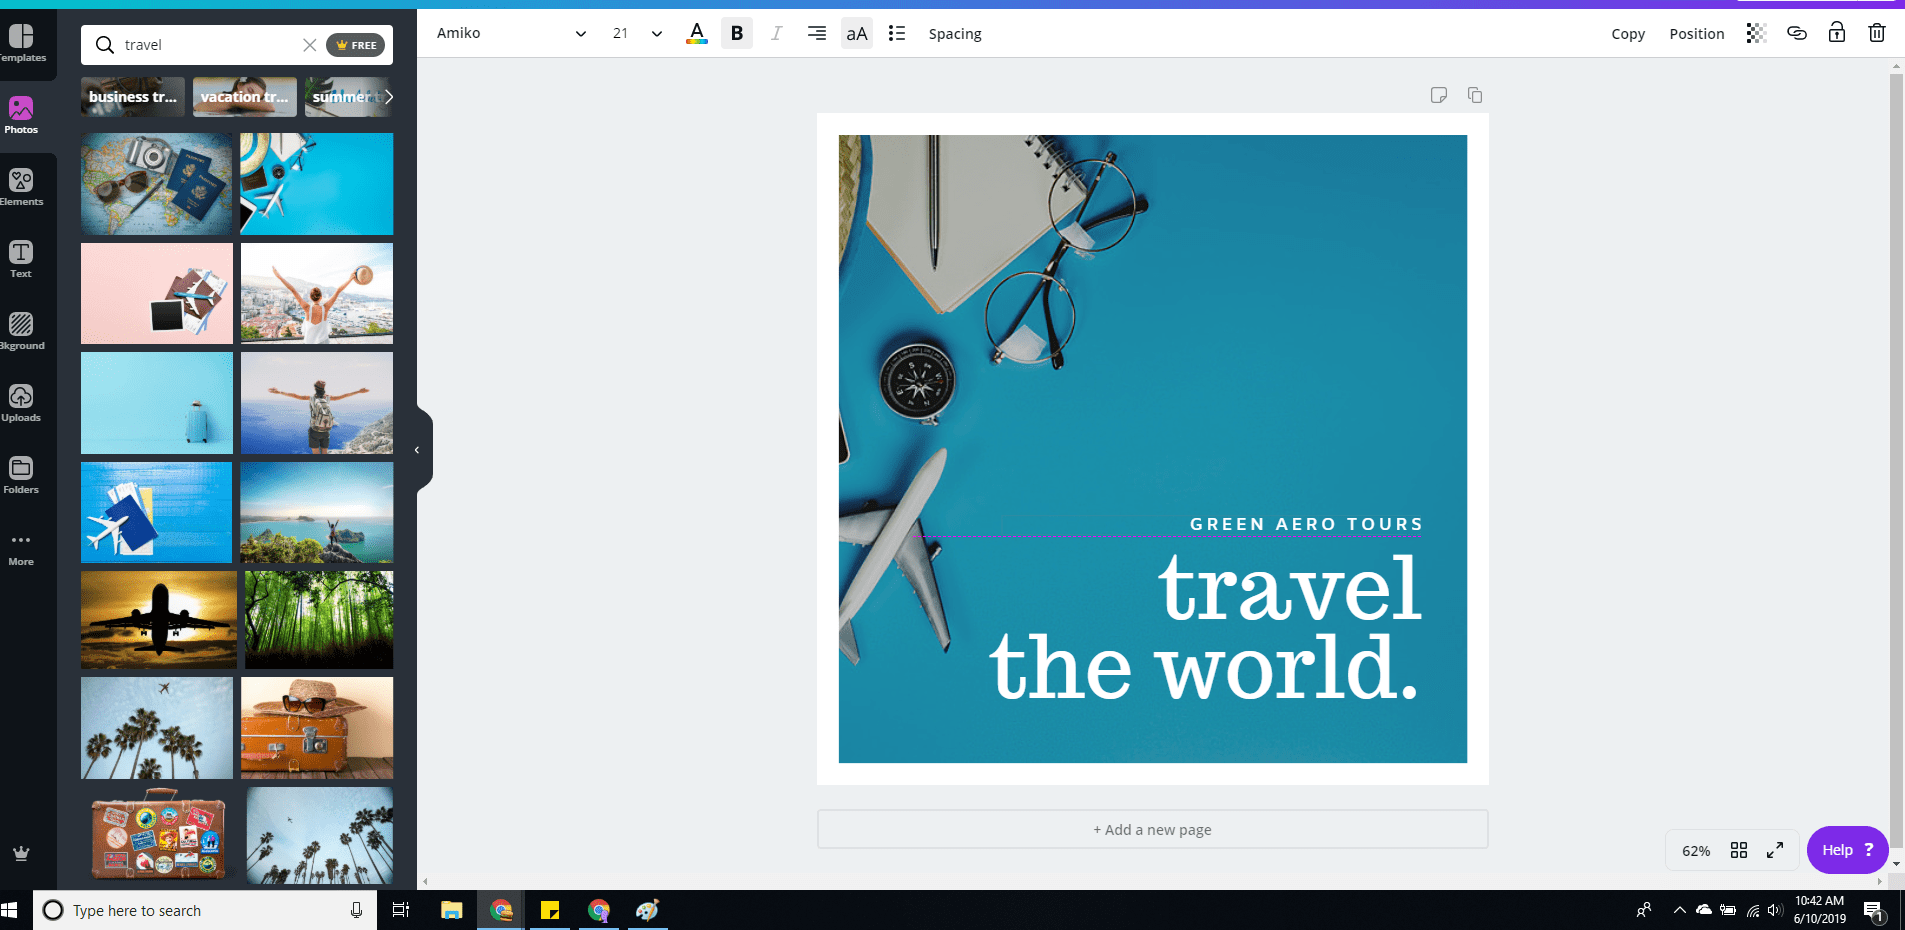
You can leave the layout of the graphic as is, or play around with it a bit. I chose to right align the text and drag it to the bottom right corner to fill in the negative space of the stock photo. Canva will lay temporary guidelines over your project so you can better align the various elements of the design.
Adjust the Photo
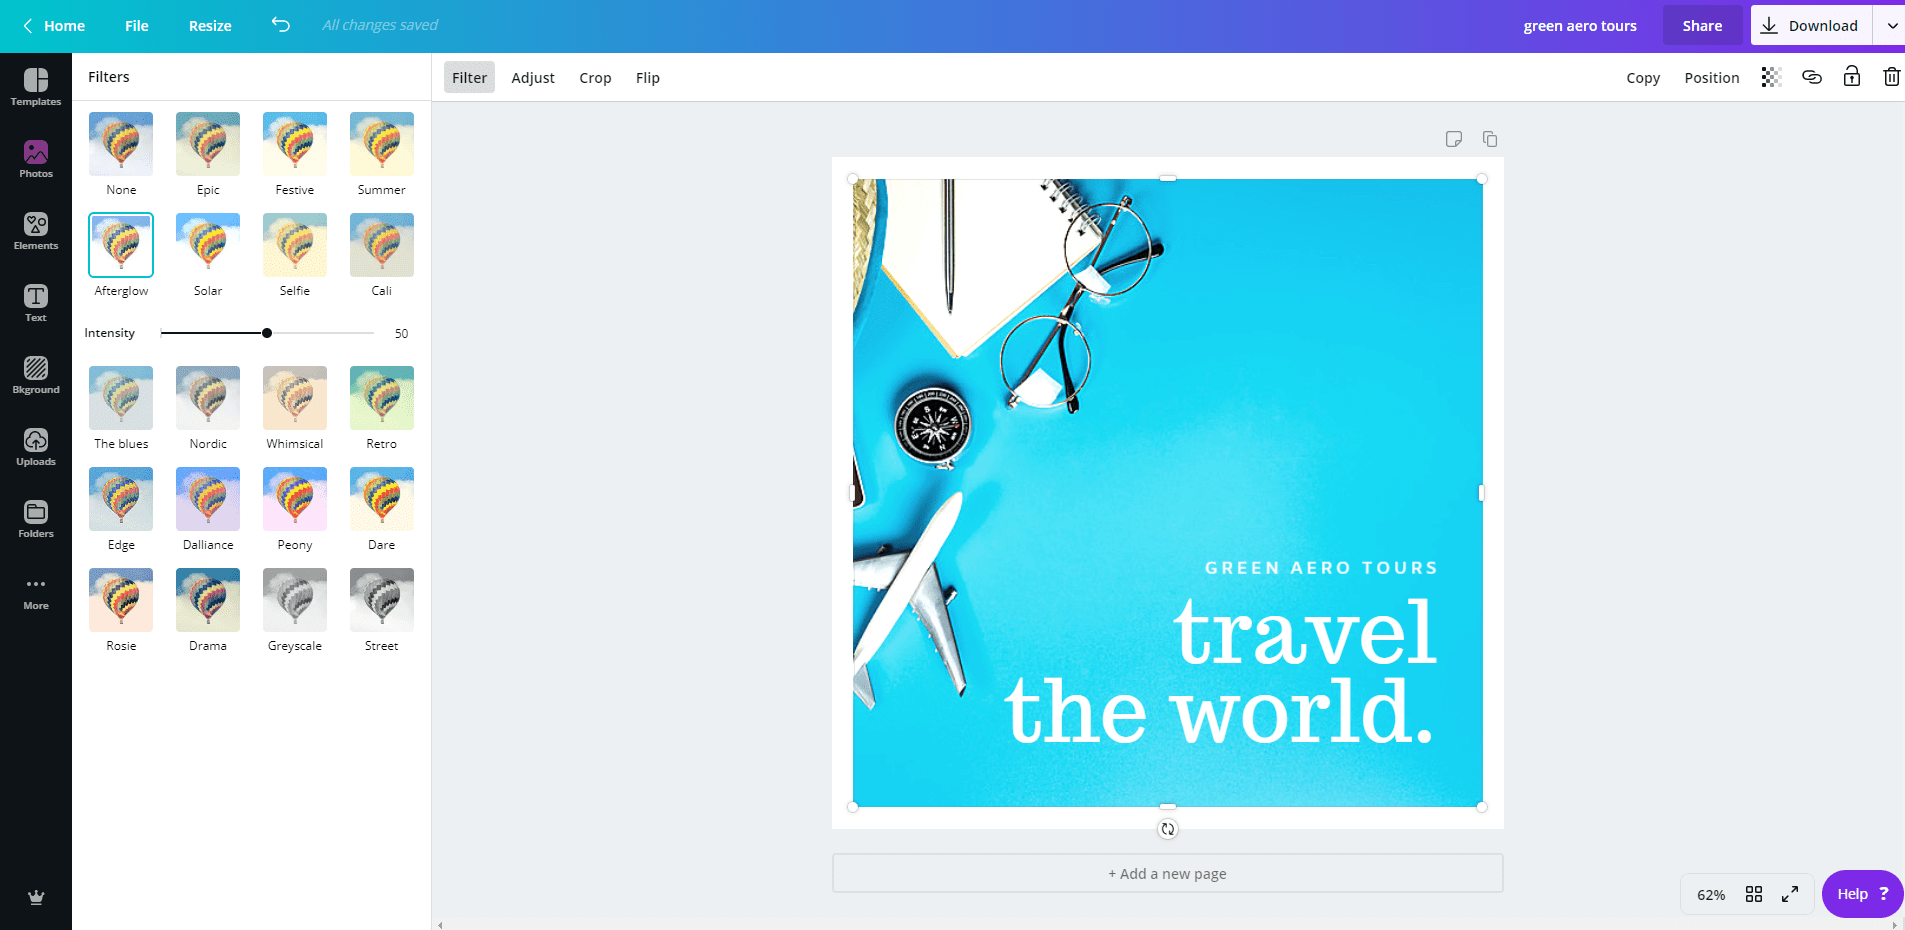
Click on the photo to make adjustments to the photo itself. You can make tweaks to the photos brightness or saturation in the Adjust menu. Crop the photo using the Crop feature. You can even flip the photo horizontally or vertically using the Flip tool. Want to add a filter to the photo? Open the Filter menu to choose from 20 different filters.
Publish Your Finished Design
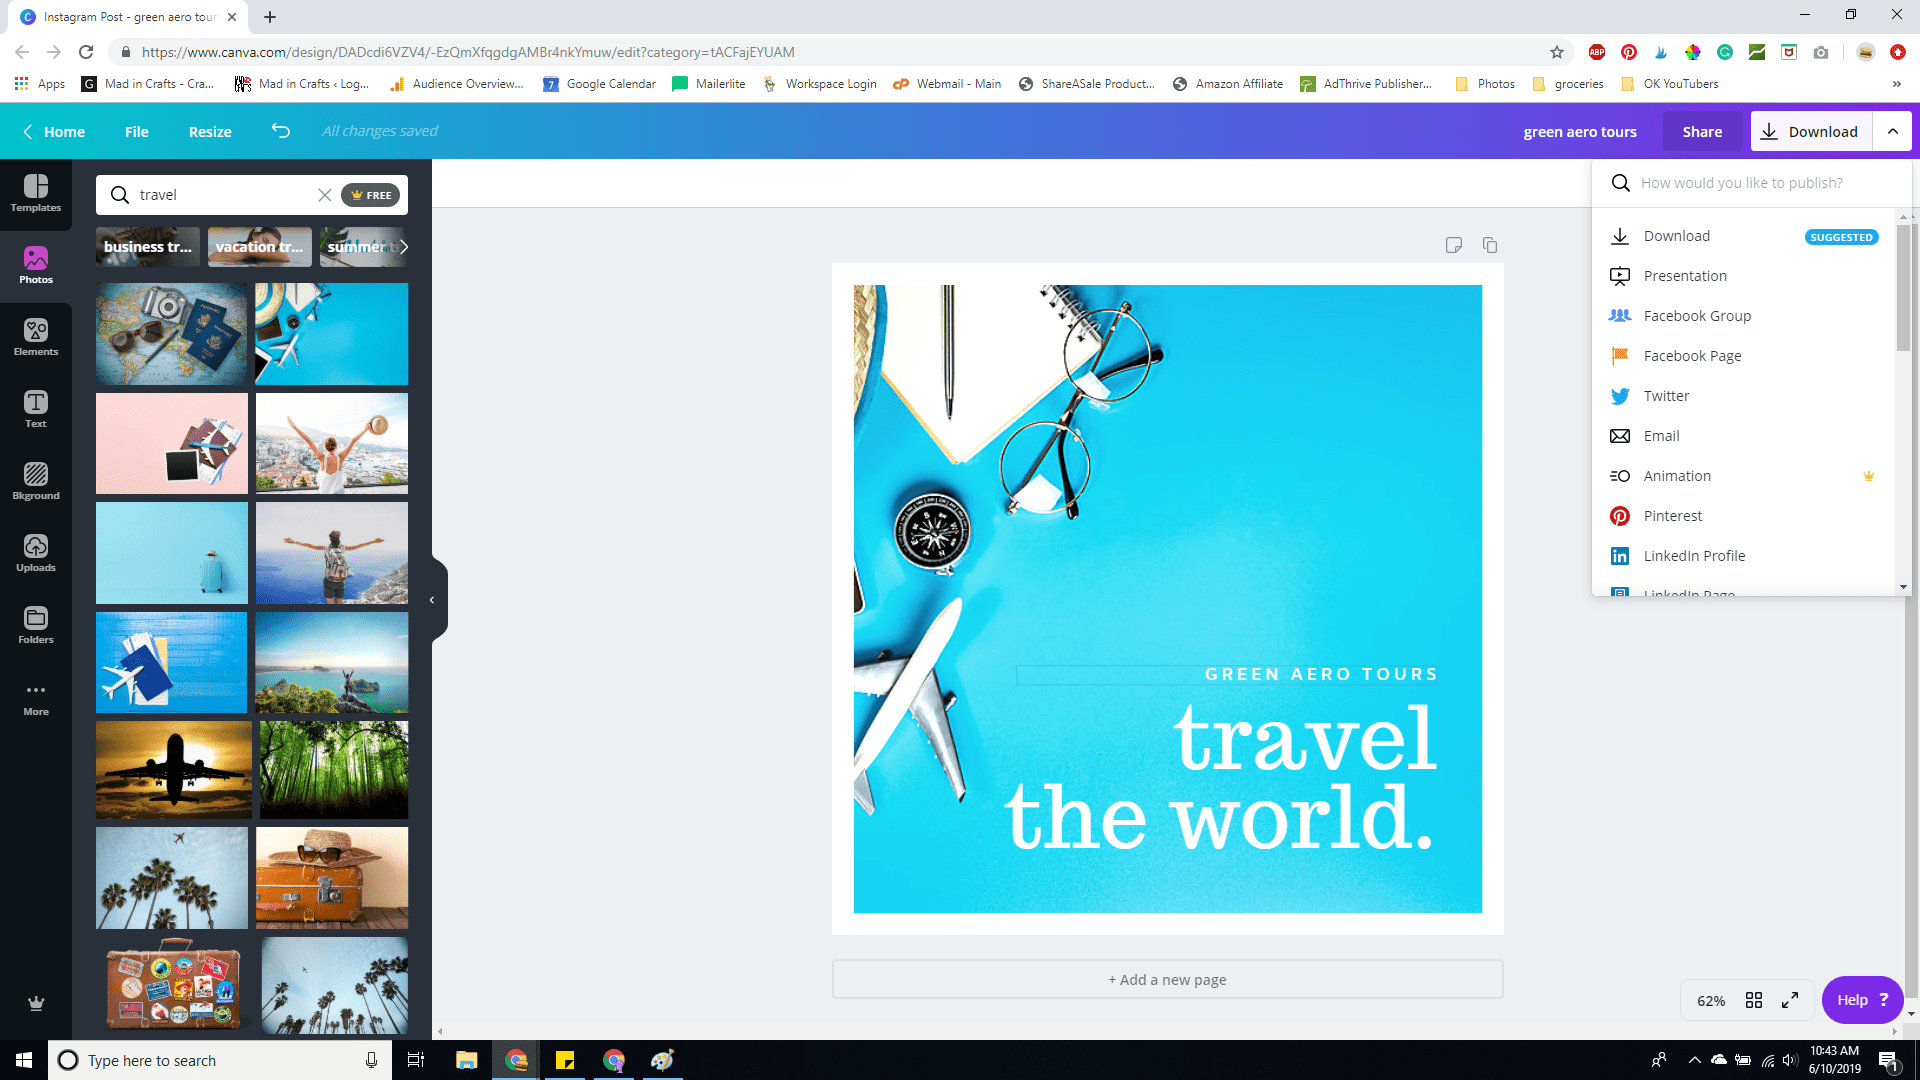
Once you are happy with your design, it’s time to publish! You can download the design to your hard drive, email the design, or publish directly to a social media platform. Consider saving this design as a template for your brand so you can create future graphics with a similar layout. This will create even more consistency in your brand’s online presence.
That really is how simple it is to create a sleek graphic using Canva templates. Interested in learning more about Canva? Check out these tutorials!