Infographics help present data or information in a visual way. They are wonderful for communicating information while maintaining your audience’s interest. Long paragraphs take time to read and digest, while visually appealing graphics draw viewers in, especially online. Fortunately, you do not need to be a graphic designer to make incredible infographics. You can easily make your own infographic in Canva.
Step One: Create an Account
If you don’t already have an account, it is free and quick to create one. You can sign in with a social media account, like Facebook. Otherwise you can use your email address to create your new account with. It only takes a minute and then you will be ready to make your infographic in Canva!
Step Two: Choose Your Template
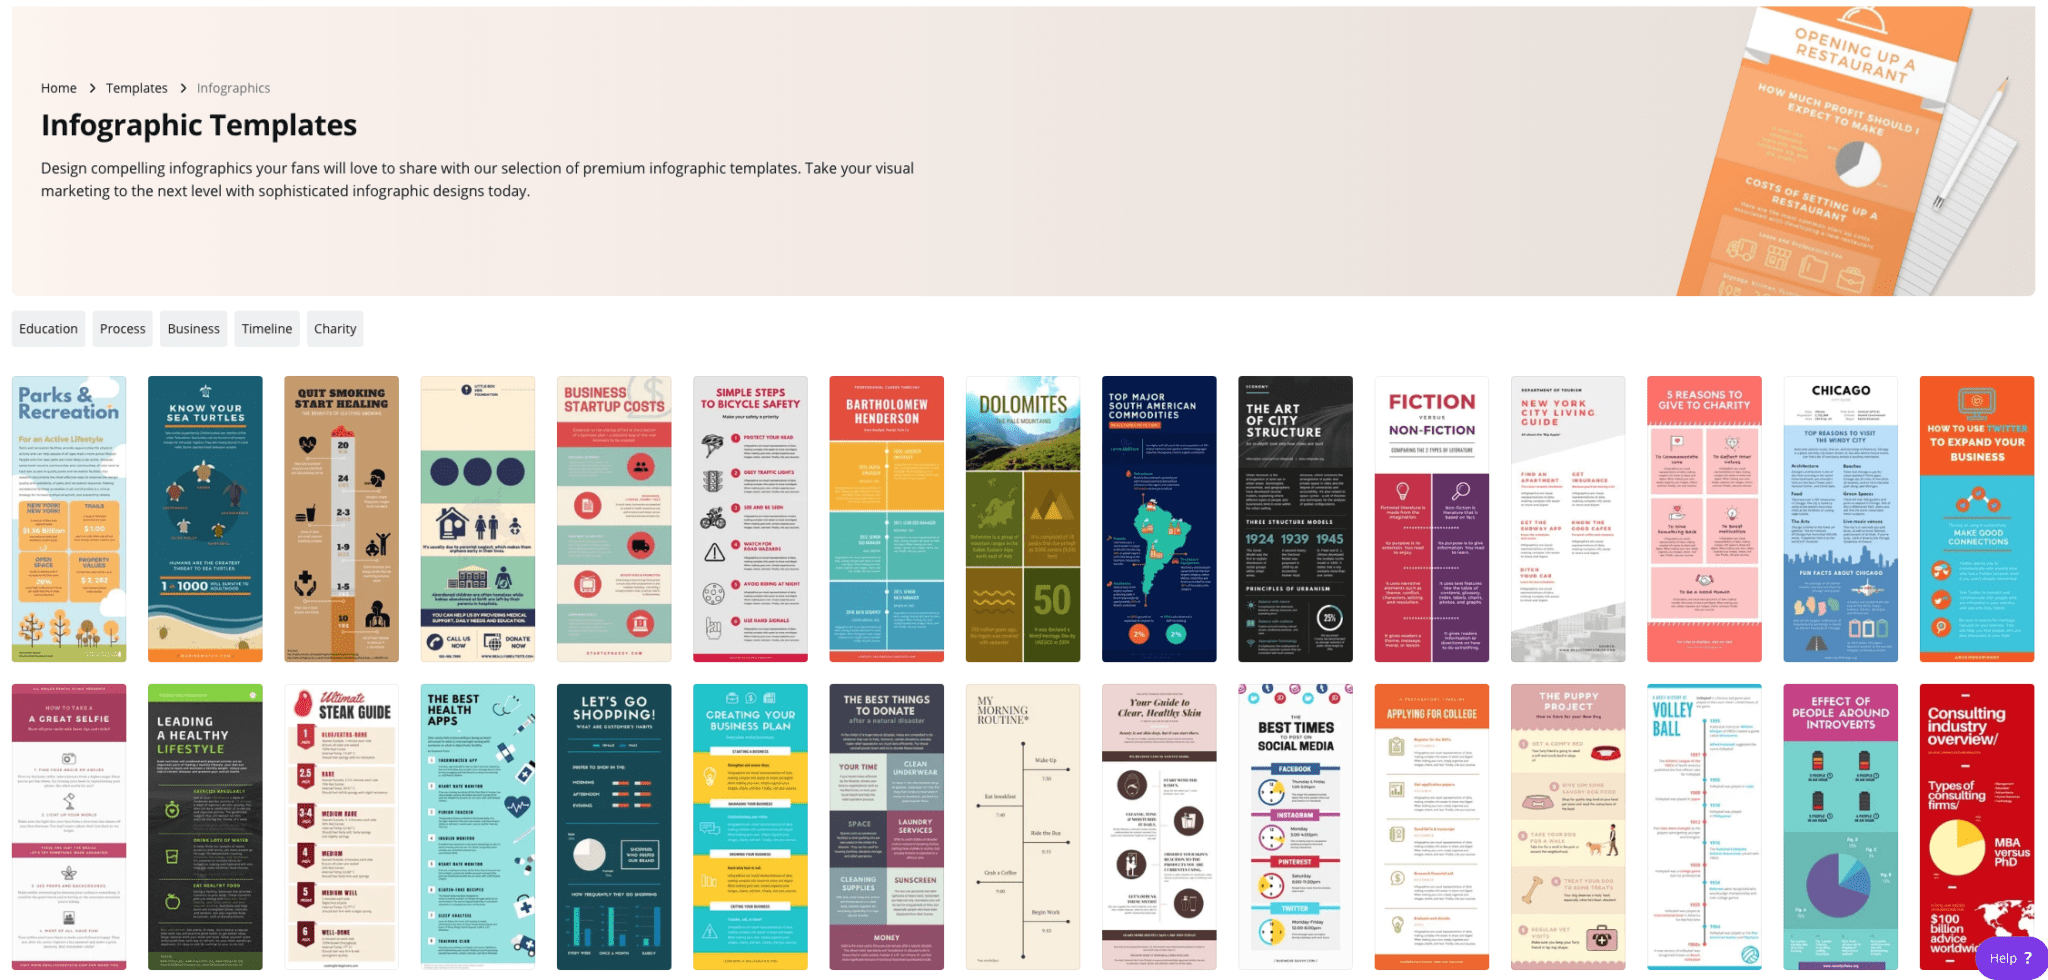
The site offers a multitude of free templates to choose from. From the homepage, under “Browse by Category”, click on “infographics”. You can then narrow down the choices by clicking on a topic. Education, Process, Business, Timeline, and Charity are the current categories to choose from. After you choose the topic, determine which template best suits your needs and click on it.
Step Three: Customize the Template
The template you click on will have all the same text and graphics as the demo. You will need to click on each of the elements to change them.
Choose the Background
You can keep the background of the demo template, or change it to a color or pattern that matches your site’s design.
Change the Text
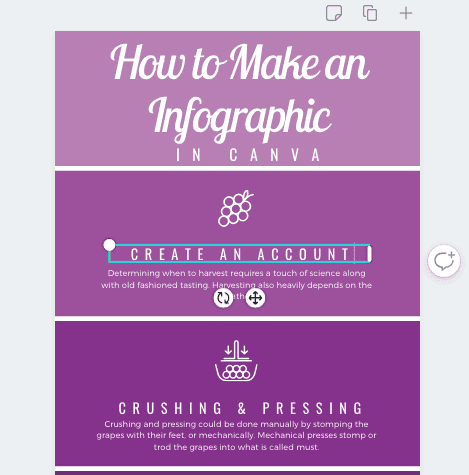
Click on the text to add your own content to the template. You can change all the text on the demo, from the title to the content in the infographic.
Add Elements
Change the images and/or photos in the template as needed. You can also import and add your own photos and graphics.
Step Four: Save and Share
When your infographic is complete, you can download and save it. The site also gives you multiple share options so you can show the world your work immediately. After clicking on the “share” button in the menu at the top of the page, you can:
- Share the infographic on social media, such as Facebook and Twitter.
- invite people to view and share your infographic.
- Send a link to collaborators to view or edit the design.
- Embed the infographic using a link or code.
Creating your own infographic using templates in Canva is easy to do! Canva can also be used to create infographics from scratch, as well. If you would like to have a custom infographic created for your brand or business and don’t want to do it yourself, the professionals at Houndstooth Media Group can help.